Oscilloscope settings
Before you can capture screen images using ScopeSnap, your oscilloscope must be properly configured and connected to your local network.
Connect the Oscilloscope to Your Network
Use a standard Ethernet cable to connect the oscilloscope’s LAN port to your local network (router or switch).
Ensure the Mac running ScopeSnap is on the same network segment (subnet) as the oscilloscope.
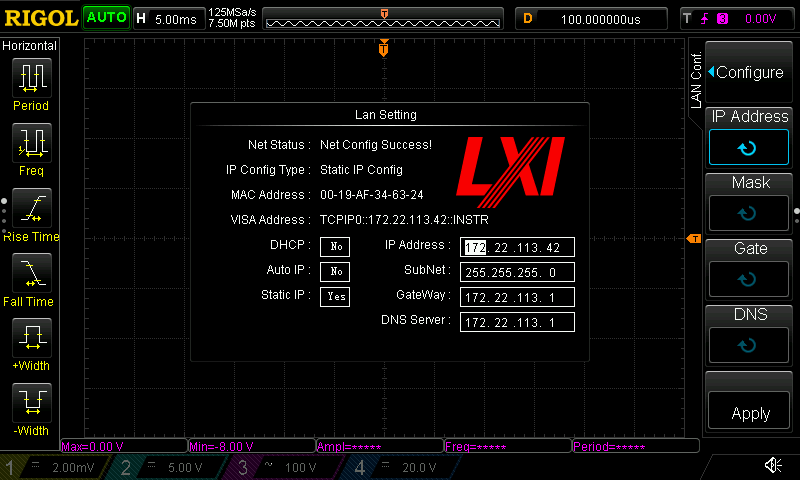
Configure the Oscilloscope’s IP Settings
Your oscilloscope must have a valid IP address on your local network. Most LXI-compliant scopes support both DHCP and static IP configuration.
Option A: Use DHCP
On the oscilloscope, navigate to the LAN settings.
Set IP Mode to DHCP.
Wait a few seconds for the oscilloscope to obtain an IP address automatically.
Note the assigned IP address shown on the screen.
Option B: Use a Static IP Address
On the oscilloscope, navigate to the LAN settings.
Set IP Mode to Static.
Manually configure:
IP Address (e.g., 192.168.1.105)
Subnet Mask (e.g., 255.255.255.0)
Gateway (use your router’s IP, e.g., 192.168.1.1)
Confirm and save the settings.
Verify Network Connectivity
On your Mac, you can open Terminal app and run:
ping 192.168.1.105
Note
Replace 192.168.1.105 with the oscilloscope’s IP address.
A successful ping confirms that the scope is reachable from your Mac.
You’re Ready to Use ScopeSnap
Launch ScopeSnap and enter the oscilloscope’s IP address in the app. Once connected, you can begin capturing screen images instantly.