macOS Application Usage
Using ScopeSnap to Capture Oscilloscope Screens
Once your oscilloscope is properly connected to your local network, you can use ScopeSnap to capture and save screen images. Follow these steps to operate the application:
Enter Scope Connection Details
At the top of the ScopeSnap window, you’ll find two fields:
Scope Address: Enter the IP address of your oscilloscope (e.g., 192.168.1.105). If your local network uses DNS and your oscilloscope has a registered hostname, you can enter the DNS name instead (e.g., scope.local).
Port: Enter the communication port used by your oscilloscope. For Rigol DS1054Z and most 1000Z Series scopes, the default port is 5555.
Connect to the Oscilloscope
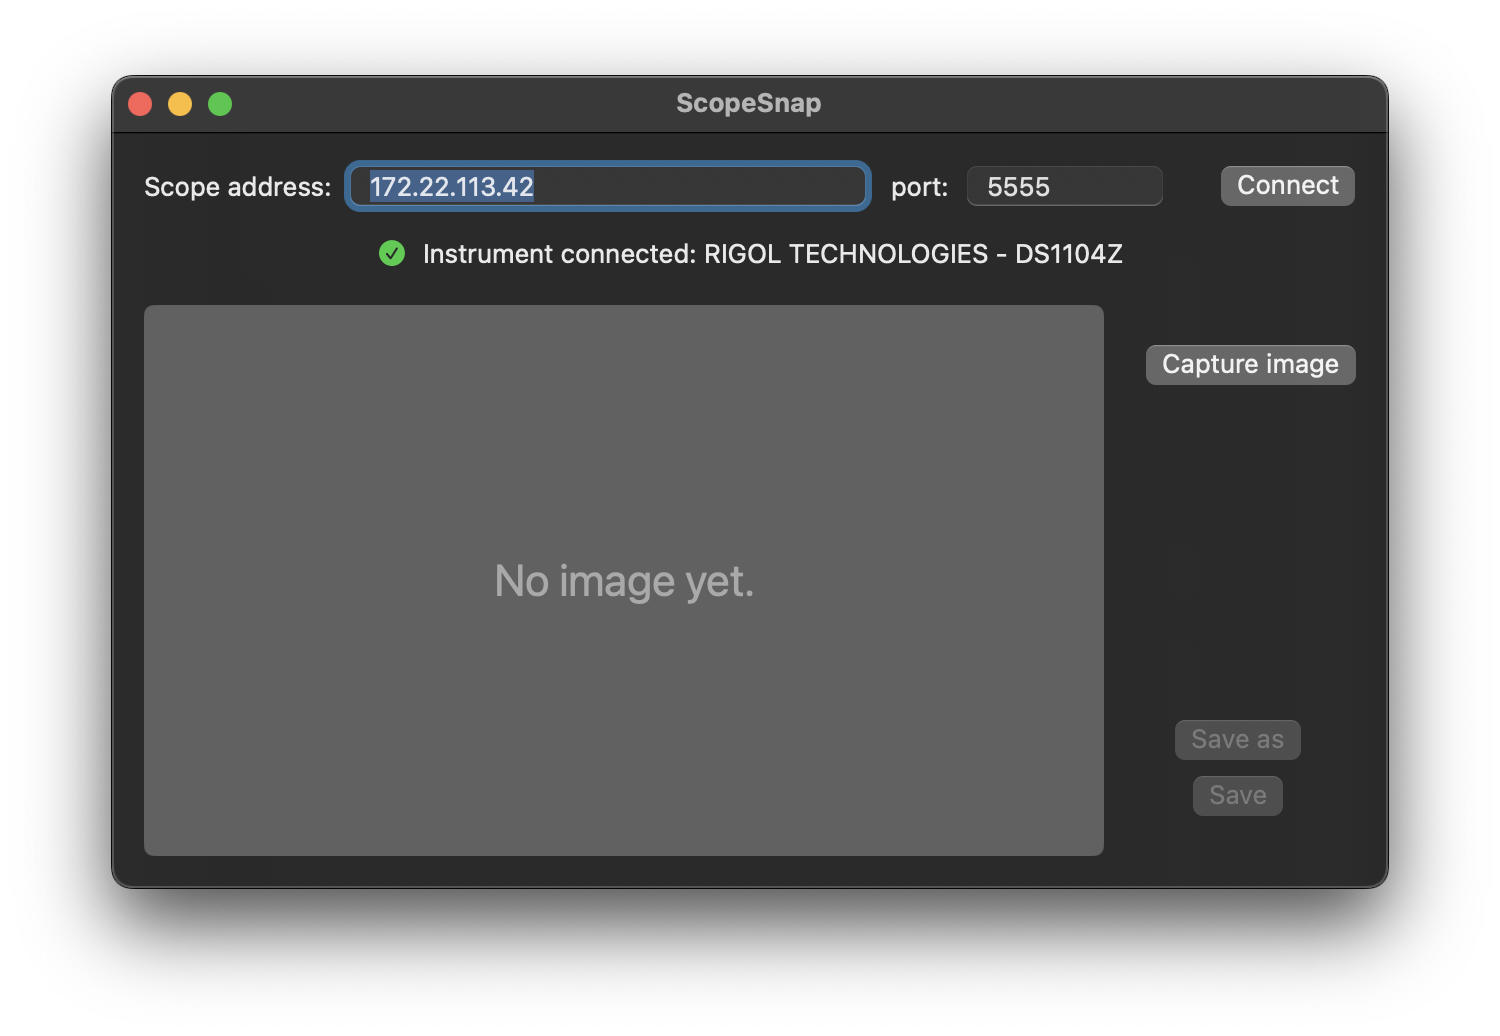
Click the Connect button. If the connection is successful:
The application will display information about the connected instrument (e.g., model and manufacturer).
The Capture Image button will become active.
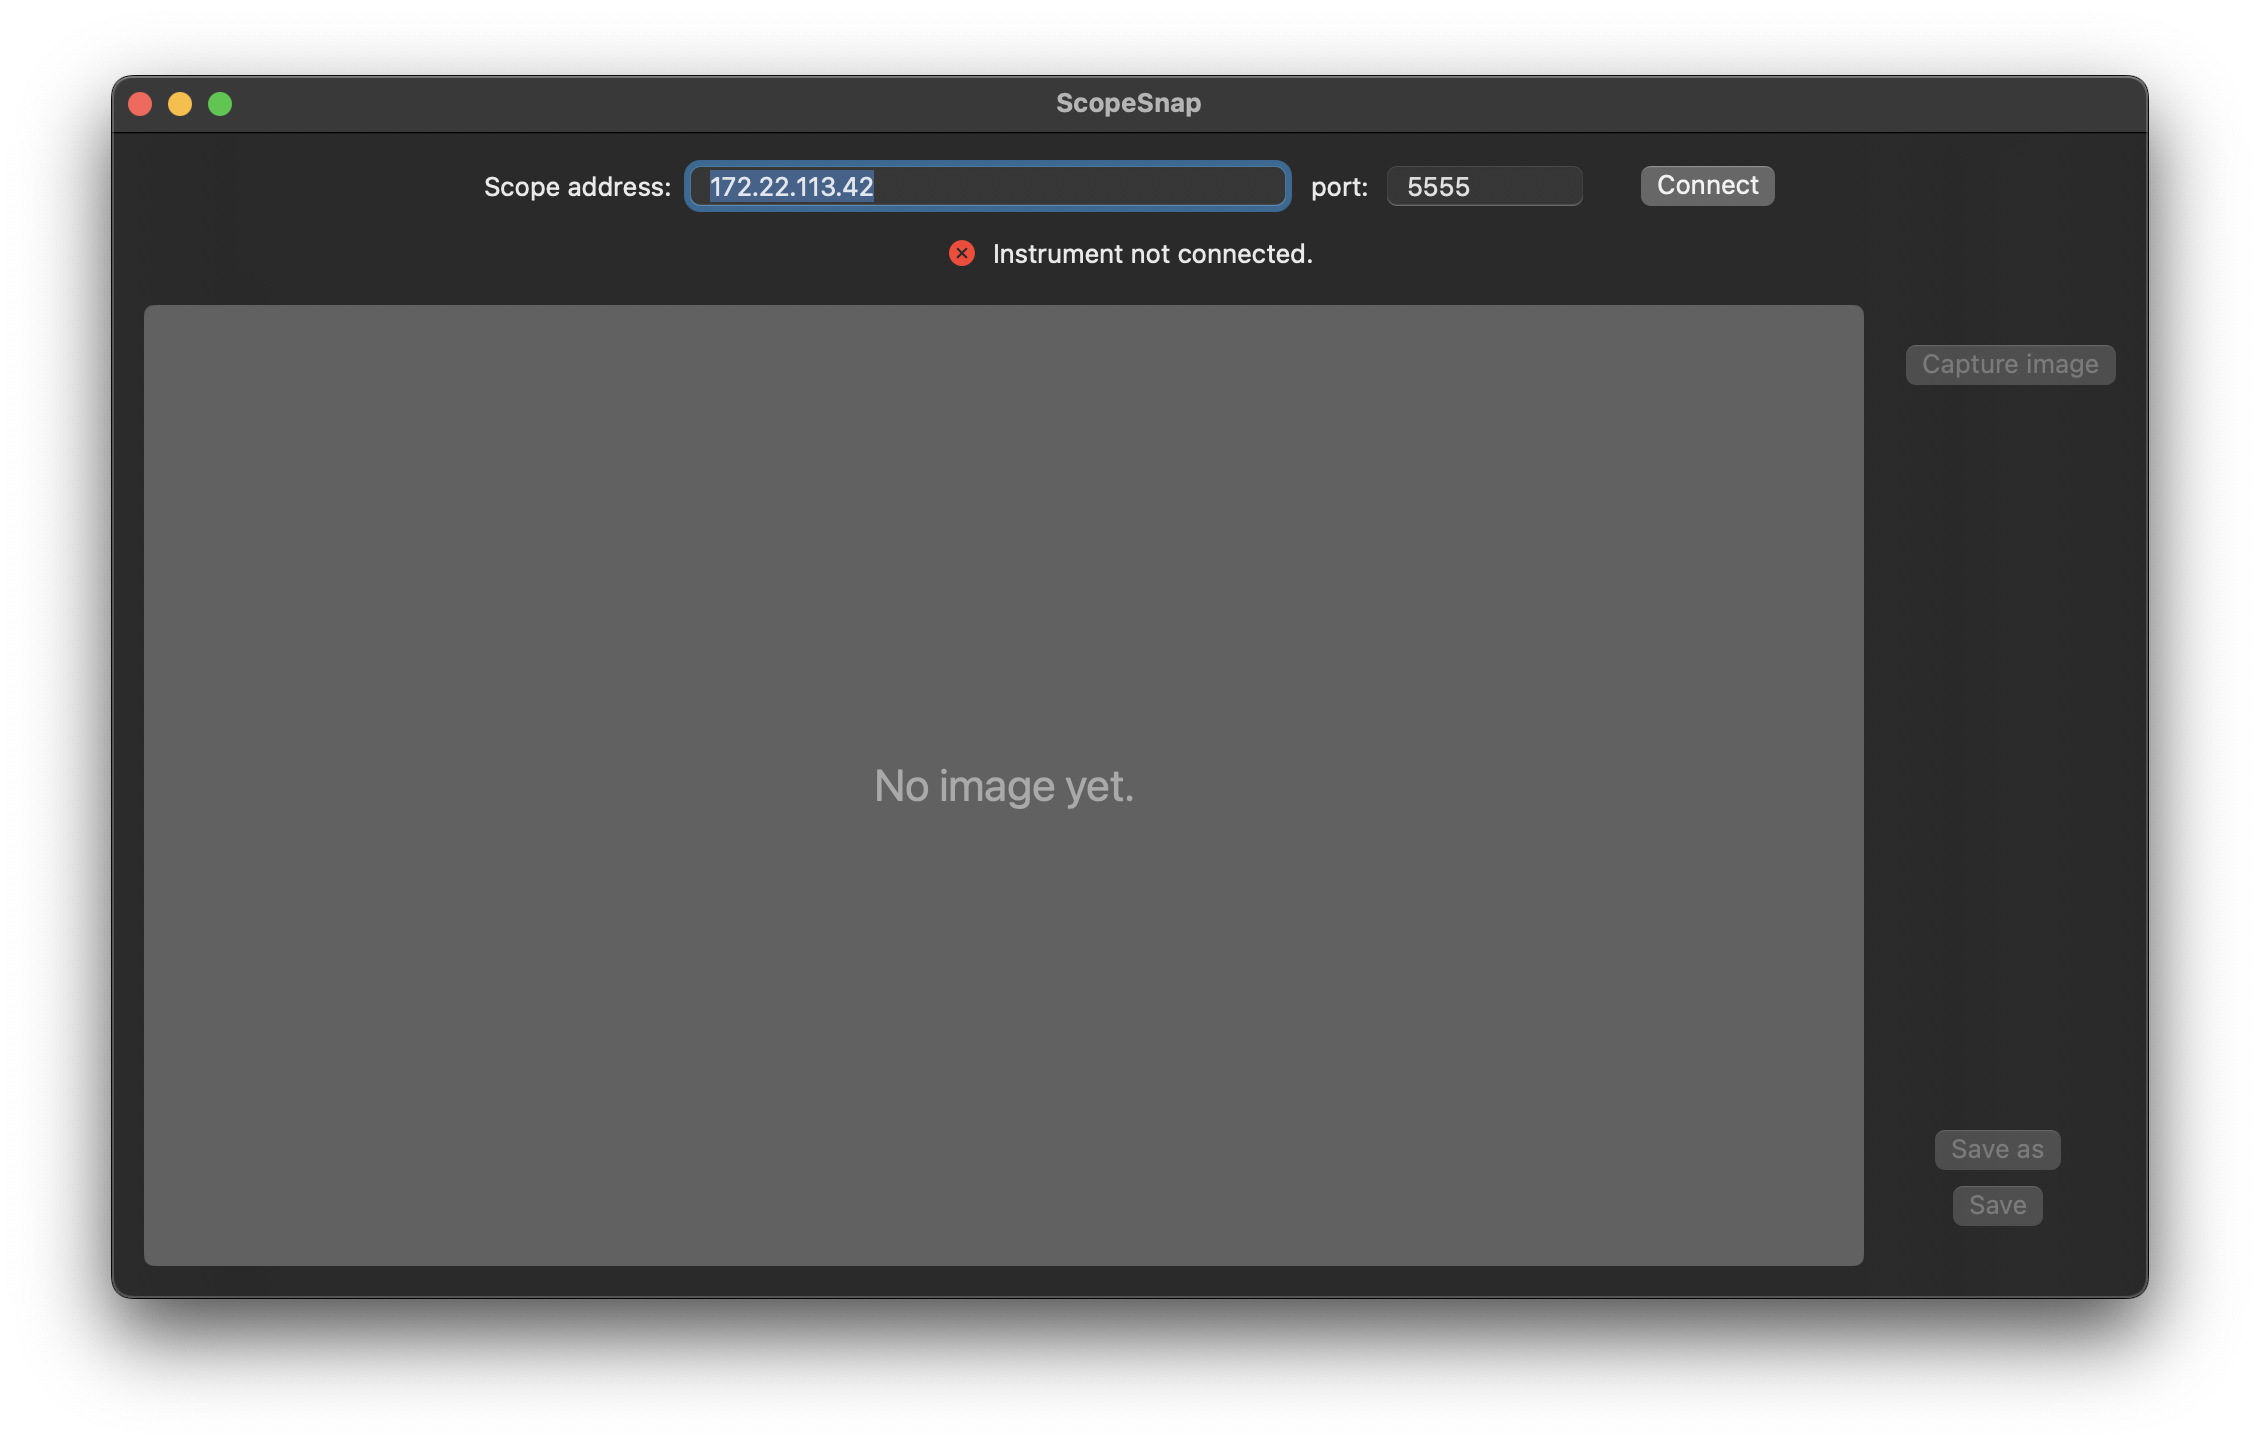
If the connection fails, double-check the scope’s IP address, port, and network configuration.
Capture a Screenshot
Once connected:
Press the Capture Image button to request a screenshot from the oscilloscope.
The downloaded image will be displayed immediately in the app’s preview area.

You can capture multiple images during a session as needed.
Save the Screenshot
After capturing an image, you have two options to save it:
Save: Quickly save the image to your Mac’s default Downloads folder using an auto-generated filename.
Save As: Choose a custom filename and location using the standard macOS file dialog.
Saved images are in PNG format, suitable for documentation, sharing, or analysis.